Voila un tuto pour tout bien faire dans le bon ordre :
http://revlimiter.net/mods/gauge_install.php 
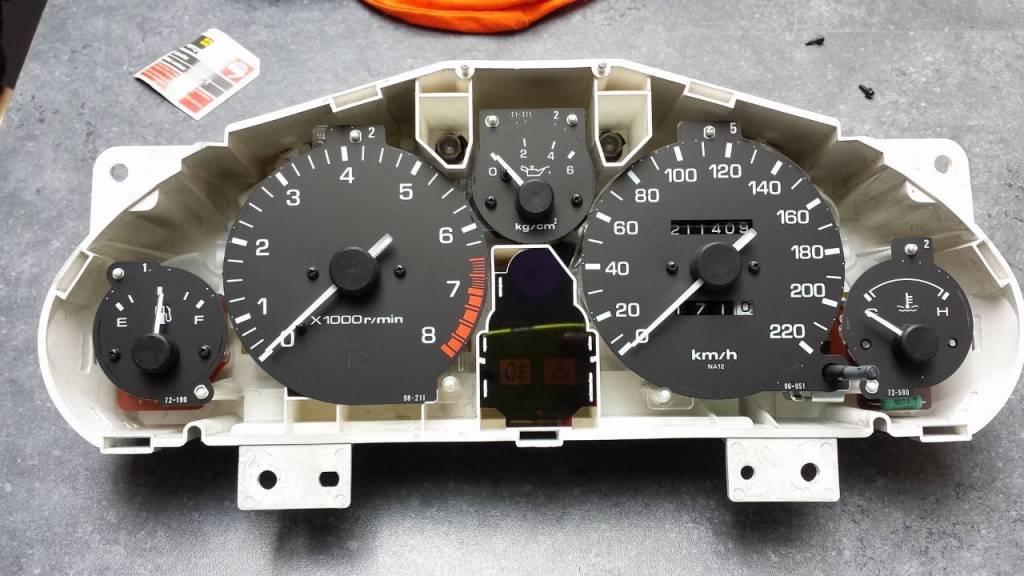
Il y a la bonne méthode pour le remontage des aiguilles (à faire moteur allumé et en ayant noté leur emplacement avant démontage).
Citer:
Speedometer: This is the only gauge needle that you can set while the cluster is on your table inside. The speedometer is self-zeroing. That means you can carefully and gently place the needle on the zero position and probably get it right. So stick it on there very lightly and then spin the needle up to 20 mph or so and let it fall by itself. Did it return to zero? If so, then give the needle a little extra press to make sure it's on there and then call it good. If it didn't return to zero, pull it off and try again.
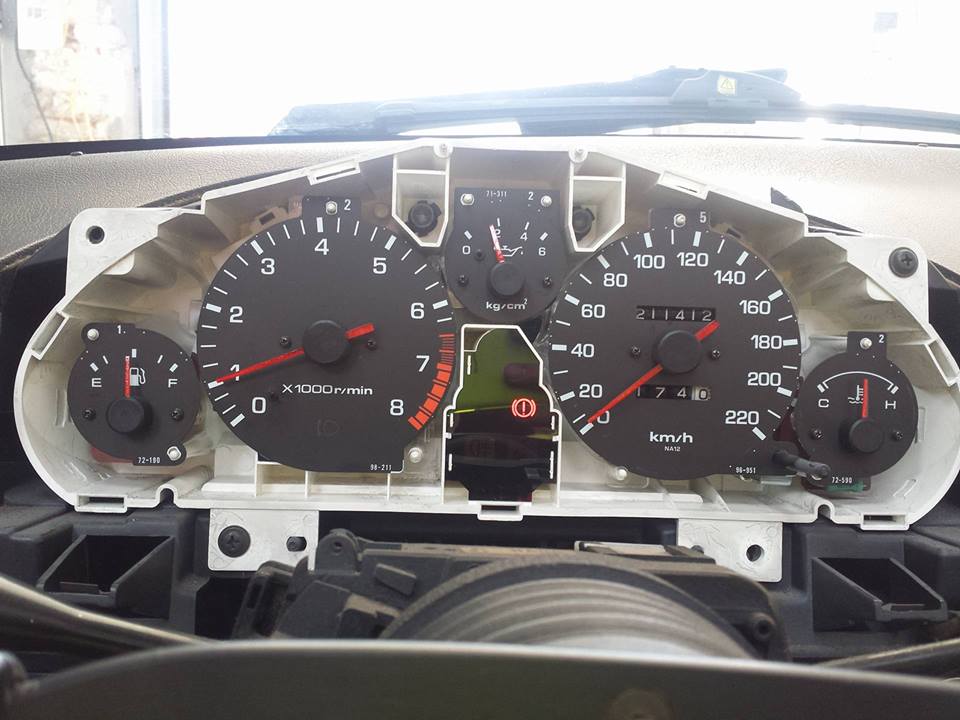
Take the cluster back out to the car and reinstall it with the glass covering removed. Connect all three inputs on the back of the cluster. I like to also screw in 2 of the 4 cluster mounting screws to hold it in place and keep it from rattling around too much. Then turn the car on.
Oil Pressure: This is usually the second needle I put into place. With the car on and the engine cold, your oil pressure gauge will read very near the maximum value (the highest oil pressure) it will ever show. Point the needle to that spot and gently press it on. Not too hard! If you get it wrong and it starts showing low oil pressure when the engine is hot, you'll want to remove this needle and try again. And, obviously, cars with dummy oil pressure gauges don't really matter. Just put it on pointing at the middle.
Tachometer: When your engine has warmed up enough and you hear it idling normally, pop the tach needle in place with it pointing somewhere around 850 rpm. Next, rev up to your rev limit. Verify that the needle points to this value. I say "this value" since many cars have aftermarket ECUs with non-stock rev limits. For stock cars, it is 7200.
If you have an aftermarket ECU, it is very easy to set the tach needle. Just plug in your laptop and monitor the engine speed. If you see the needle is grossly incorrect, pop it off and try again. But if you don't have this luxury, there is a trick: for cars with the 4.1 rear end (94-97), 50 mph = 2500 rpm in 5th gear. For 90-93 cars with the 4.3 diff, I'm not sure of the magical check point. At any rate, once you're satisfied with the tach needle, you should press it firmly in place.
Water Temp: Once you've finished messing around with the tach needle, your engine should be warm enough to put the water needle in place. The stock position is approximately 11:30 o'clock. Put the needle in place and then press it down firmly.
Fuel: Last but not least, the gas gauge. I like to leave this needle off and drive to the gas station near my house. Then I fill up. Then I drive back to my house and sit in the driveway and put the fuel needle a bit above the F mark. It takes a little over a mile for a full tank of gas to register, so keep that in mind.
Lastly, turn the car off. Keep the cluster glass off and verify that the needles fall to their correct zero zones. If you didn't press the needle on hard enough, you'll have a droopy gauge. I'm talking to you, Mr. Water Temp. The tach and oil gauges both have stoppers. The fuel gauge doesn't fall. The speedometer self zeroes. But the water gauge can droop if the needle isn't pressed on hard enough. Once you're satisfied, give your new gauge faces a quick dusting with the very edge of a clean paper towel (don't use pressure to dust!) and then snap the glass cover in place.
And that's it. It sounds like a lot of work, but really the process is quite straightforward. With a little bit of care, it's very easy to swap out gauges and put everything together with that OEM fit and finish.
Cliff notes: Take everything out. Put on gloves. Put everything back in.
 Mazda Mx5 en France, Belgique, Suisse et Luxembourg
 Notre page facebook
 Notre page Instagram
 La boutique du club